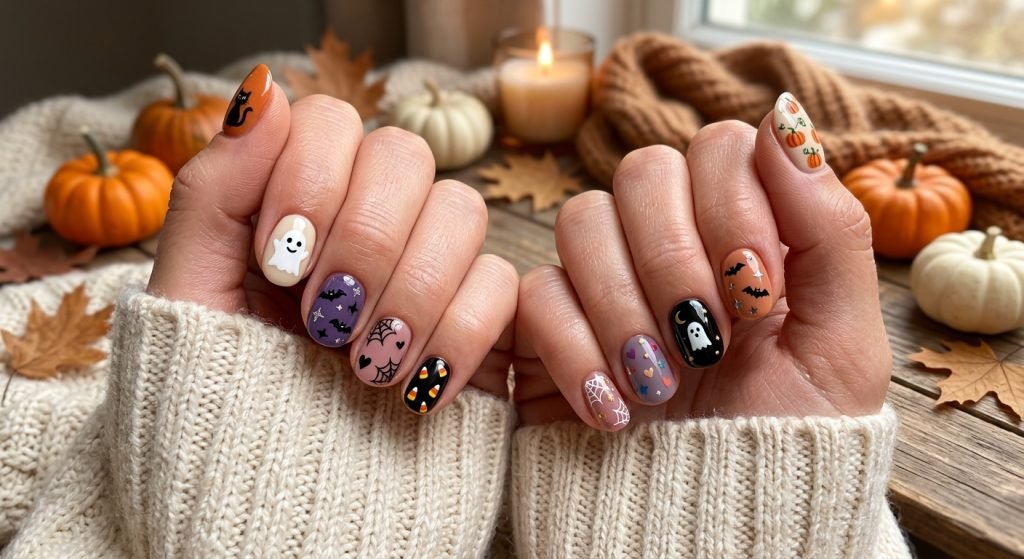
Simple Halloween Nail Ideas: 10 Easy Designs to Try at Home
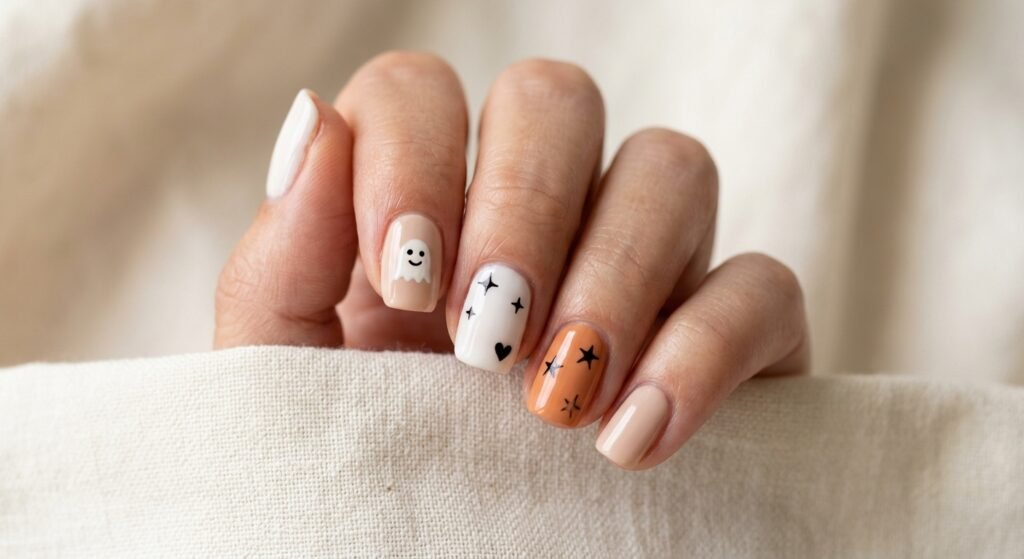
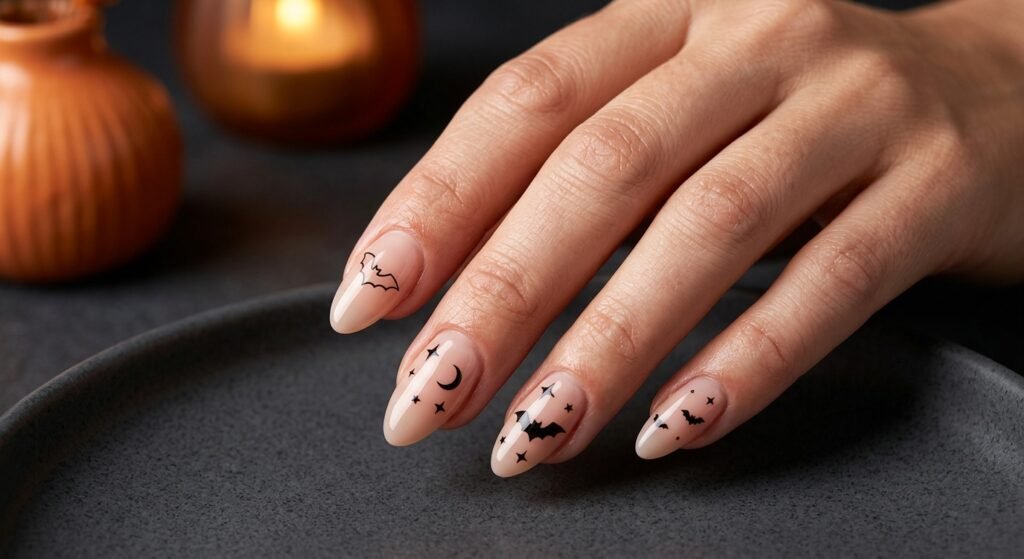
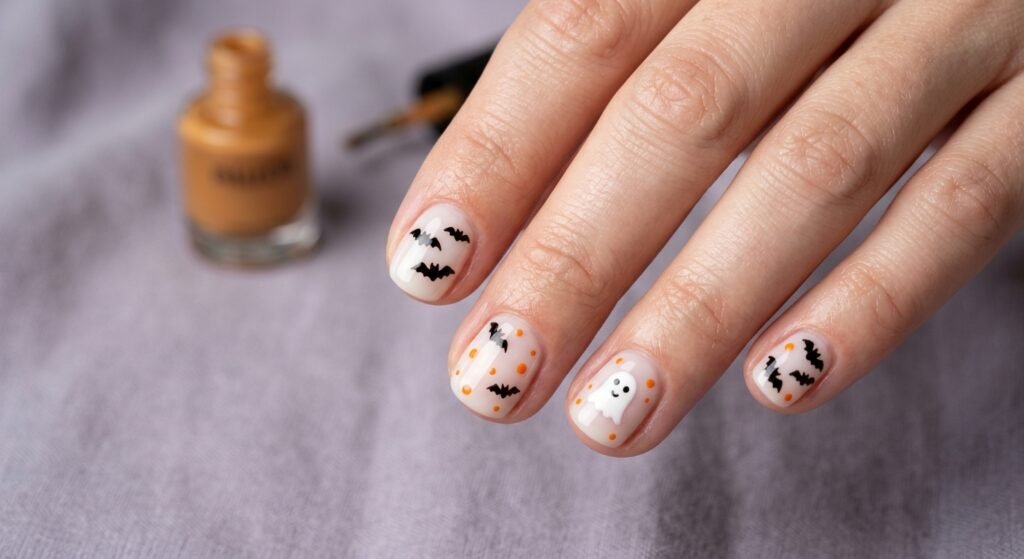
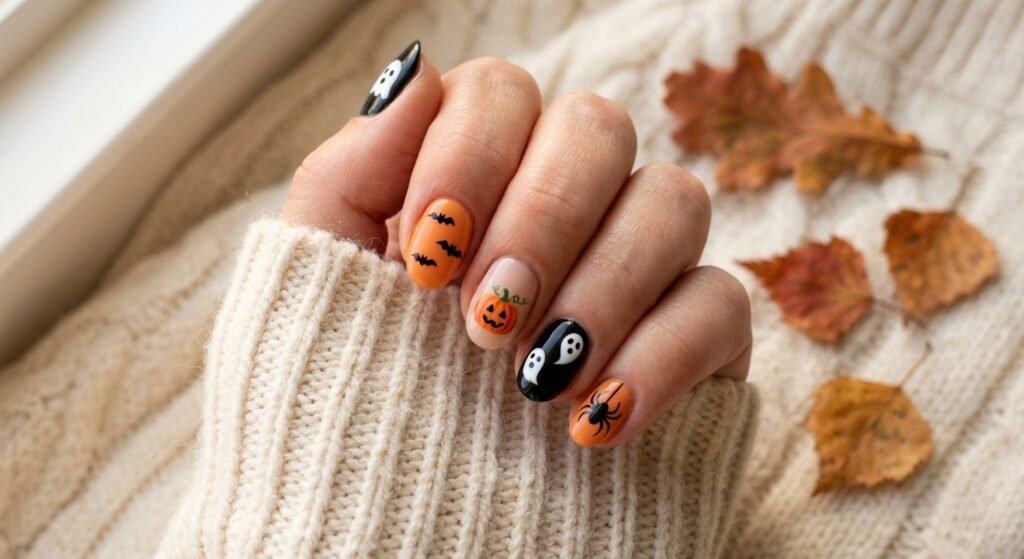
Looking for easy Halloween nail ideas? Think ghost accent nails, orange-and-black dots, tiny pumpkins, or fun French tips. You don’t need to go over the top—just pick one or two colors, add a cute detail to an accent nail, and keep the rest simple. It’s a fun and stress-free way to get into the Halloween spirit, even if you’re new to nail art.
Halloween nail art shouldn’t be intimidating—think of it as a chance to play! Perfection isn’t the goal; it’s all about having fun and showing a little personality on your fingertips. Messy lines? Imperfect dots? No big deal. Every swirl and squiggle just makes your nails more uniquely yours. You don’t need long nails or a bunch of fancy tools. With just a few regular nail polishes, a dotting tool, and a fine nail-art brush, you can try out all kinds of cute looks. Below, I’ve rounded up 10 simple Halloween nail ideas, including which colors and tools to use, plus quick how-to’s for each one.
What You Need for Halloween Nail Art at Home
Before you buy supplies, pick the design you want to try. Most of these looks use the same basic tools:
- Base coat and top coat.
- Two or three regular nail-polish colors.
- A dotting tool for eyes, dots, and small circles.
- A fine nail-art brush for lines and details.
- A nail file and a suitable polish remover.
- Optional nail stickers or decorative accessories.
The steps below use regular air-drying nail polish. Just follow the directions on your products, use thin coats, and let each layer dry before you add any details.
If you’re trying this for the first time, just paint your design on one accent nail per hand. You’ll have fewer details to worry about, but your nails will still look coordinated and cute.
Choose Your Halloween Nail Colors
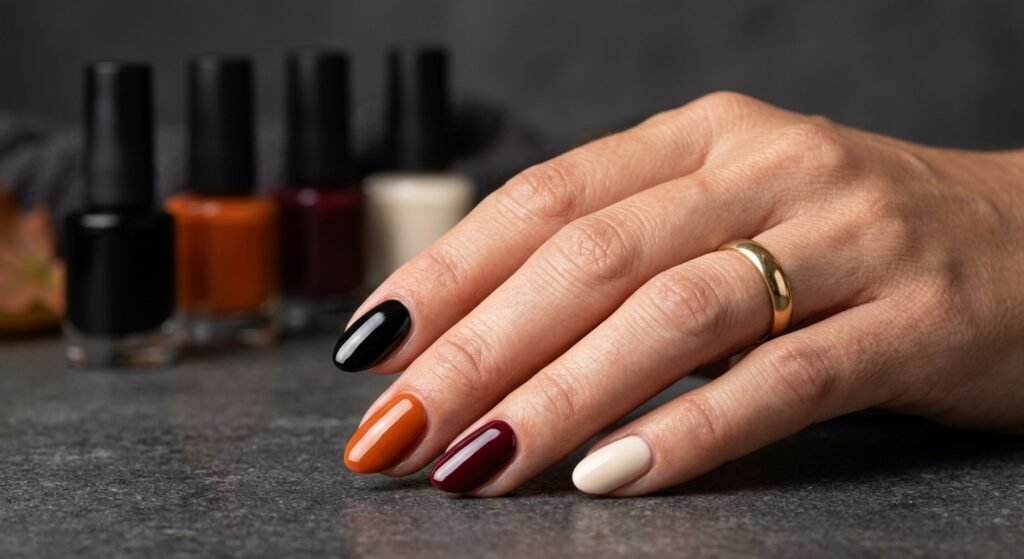
Orange, black, and white are classic Halloween colors, but you can totally switch things up with softer or darker shades if you want a different vibe.
| Orange and black | Pumpkins, dots, and contrasting tips |
| White and nude | Little ghosts and subtle accents |
| Lavender and black | Playful spooky eyes |
| Burgundy and black | Dark, understated Halloween nails |
| White, orange, and yellow | Candy corn stripes |
Want to keep it even simpler? Try painting your nails with two alternating colors. If you’re feeling creative, add a tiny detail to just one nail.
10 Simple Halloween Nail Art Ideas
1. Orange-and-Black Polka Dots
Colors: Orange and black
Tools: Dotting tool
Difficulty: Beginner
Paint your nails orange and allow the base color to dry. Dip the dotting tool into a small amount of black polish and place three to five dots on each accent nail.
Keep space between the dots so the design stays clear. For short nails, use smaller dots and decorate just the ring finger. Finish with top coat once the details are dry.
This is a useful starting point if you want Halloween nail painting ideas without complicated outlines.
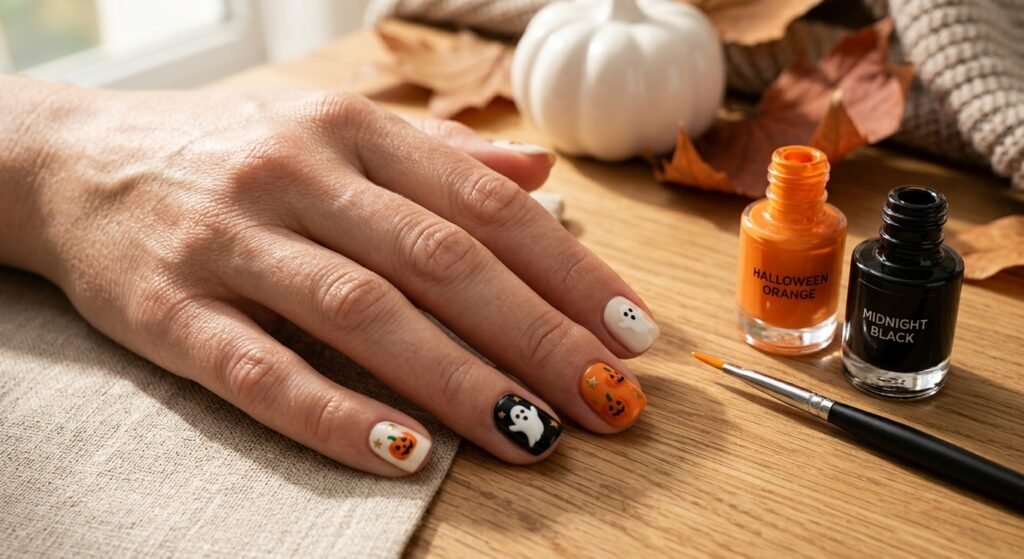
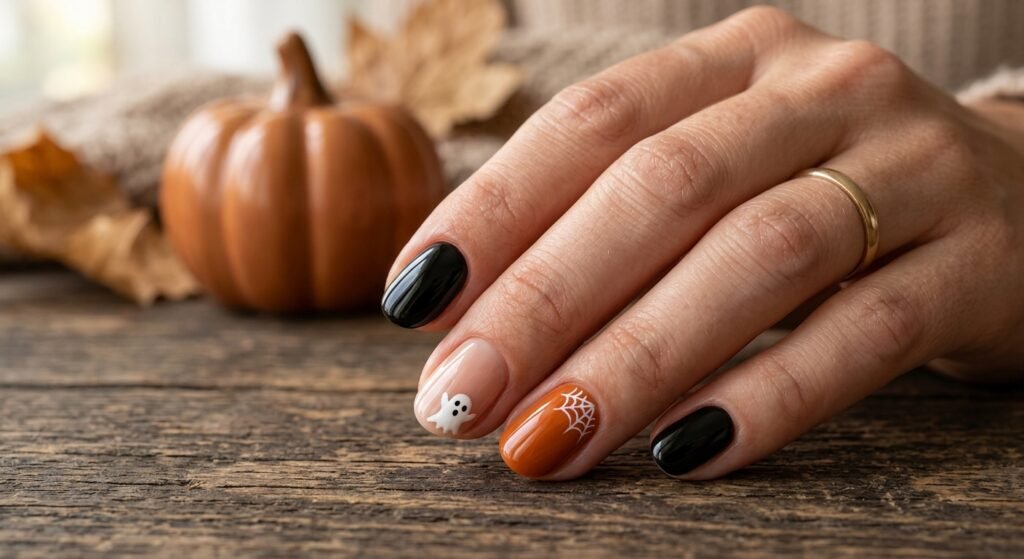
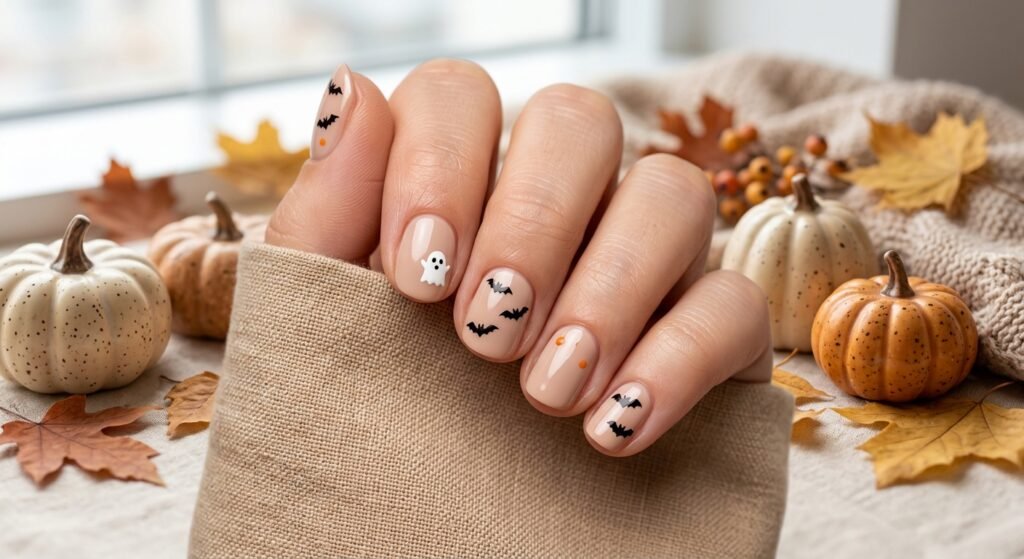
2. Little White Ghosts (So Cute!)
Colors: Nude, white, and black
Tools: Small nail-art brush and dotting tool
Difficulty: Beginner with a little practice
Start with a nude base. On one nail, paint a little white oval with a rounded top—this will be your ghost. Then, flick the brush at the bottom to create two or three wavy curves for that classic ghosty shape.
Once the white polish dries, dot on two tiny black eyes. Make sure your ghost is big enough that its eyes don’t blend together—wide-eyed ghosts are always adorable!
Leave the other nails nude or add a few white dots if you want. Keeping things simple lets your little ghost steal the show.
3. Tiny Pumpkin Accent Nails
Colors: Cream, orange, and dark green or brown
Tools: Dotting tool and fine brush
Difficulty: Beginner with a little practice
Paint a cream base and let it dry. Make a small orange circle near the tip of your ring fingernail, then add a short stem above it.
You can stop there or add a thin curved line inside the pumpkin for extra definition. Keeping the pumpkin on one nail makes the manicure easier to finish neatly.
If you’d rather skip painting pumpkins, check out some Halloween Pumpkin Nail Patches online. They’re super easy—just peel, stick, and you’re festive!
4. Black French Tips
Colors: Sheer pink or nude and black
Tools: Fine nail-art brush
Difficulty: Requires a steady hand
Apply your base color and let it dry completely. Paint a narrow black curve across the free edge of each nail, following its natural shape.
For short nails, keep the line thin. If drawing a full curve feels difficult, try a small diagonal black corner instead.
Black tips work well for a subtle Halloween manicure that still complements everyday outfits.
5. Spooky Eyes on a Dark Base
Colors: Black or deep purple, white, and black for pupils
Tools: Dotting tool
Difficulty: Beginner
Paint your nails black or deep purple. Once dry, place two white dots side by side on an accent nail.
Let the white dots dry before adding smaller black pupils. Position both pupils slightly to one side for a playful sideways glance.
One pair of eyes per nail is enough! You barely need any detail, but it still gives off that fun, spooky vibe.
6. Candy Corn Stripes
Colors: White, orange, and yellow
Tools: Polish brushes or a flat nail-art brush
Difficulty: Beginner with patience
Create three horizontal bands: white near the tip, orange through the middle, and yellow near the base.
Work one color at a time and allow it to dry before painting the adjacent band. On short nails, use one candy-corn accent nail and paint the remaining nails solid orange.
Don’t stress if your stripes aren’t perfect—just focus on keeping the colors separate. A little wobbly line just adds to the charm!
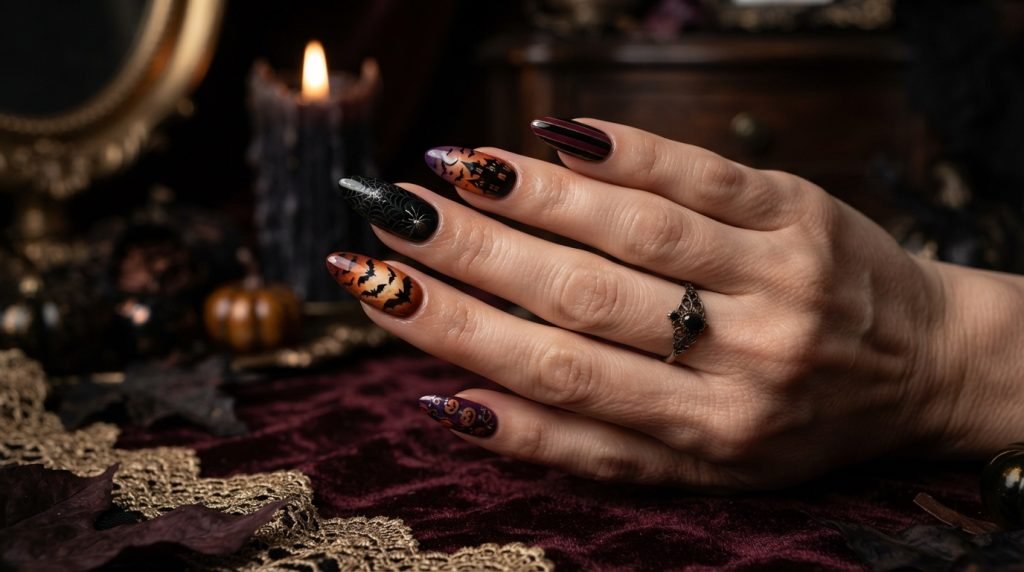
7. A Simple Spiderweb Corner
Colors: Nude or lavender and black
Tools: Fine nail-art brush
Difficulty: A little practice helpful
Start with a dry base color. From one corner of the nail, draw three thin lines spreading outward.
Connect the lines with two short curved strokes to suggest a web. Keeping the pattern in one corner gives you less detail to paint and leaves the rest of the nail uncluttered.
Try this on your thumbnail first if you want more room to practise.
8. Halloween Sticker Accent Nails
Colors: Nude, cream, or another shade that contrasts with your stickers
Tools: Nail stickers and an application tool if required
Difficulty: Depends on the sticker type
Paint a simple base and prepare it according to the sticker instructions. Place one motif on each accent nail, keeping it within the nail’s edges.
For this look, browse the Halloween Skull Pumpkin Nail Sticker. Check the listing images and instructions to confirm which designs are included and how they should be applied.
Use top coat only as directed for the particular sticker. A plain background helps small motifs remain easy to see.
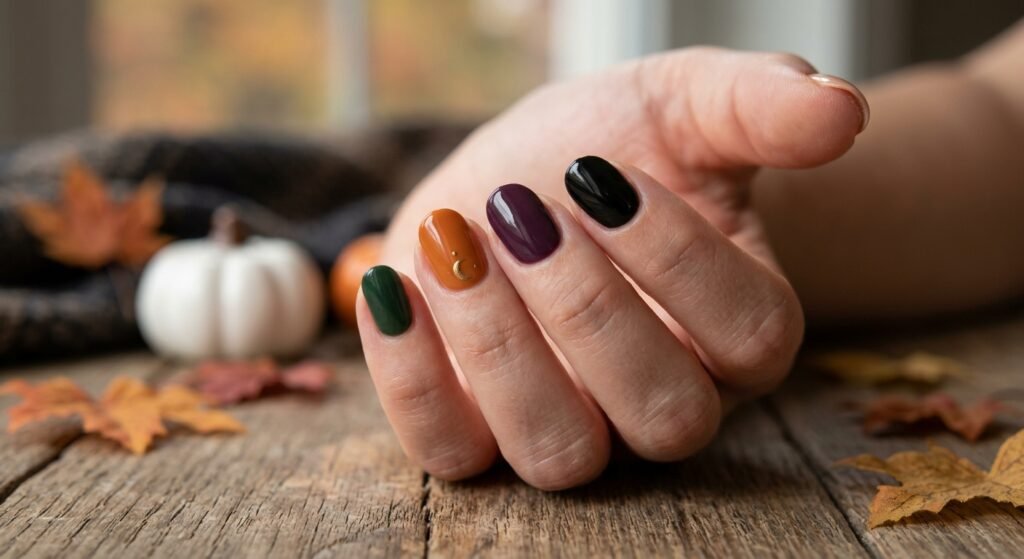
9. Burgundy Nails with One Decorative Accent
Colors: Burgundy or deep plum
Tools: Optional nail accessory and its specified attachment product
Difficulty: Easy painted base; accessory application varies
Paint all nails burgundy for a rich, understated Halloween look. Leave them plain, or add one small decorative accent to the ring finger nail.
To explore embellishments, view the Retro Halloween Zircon Nail Art Accessories. Confirm the dimensions, contents, and attachment instructions before purchasing.
Keep the decoration proportionate to your nail. For an entirely painted alternative, use a small metallic dot instead.
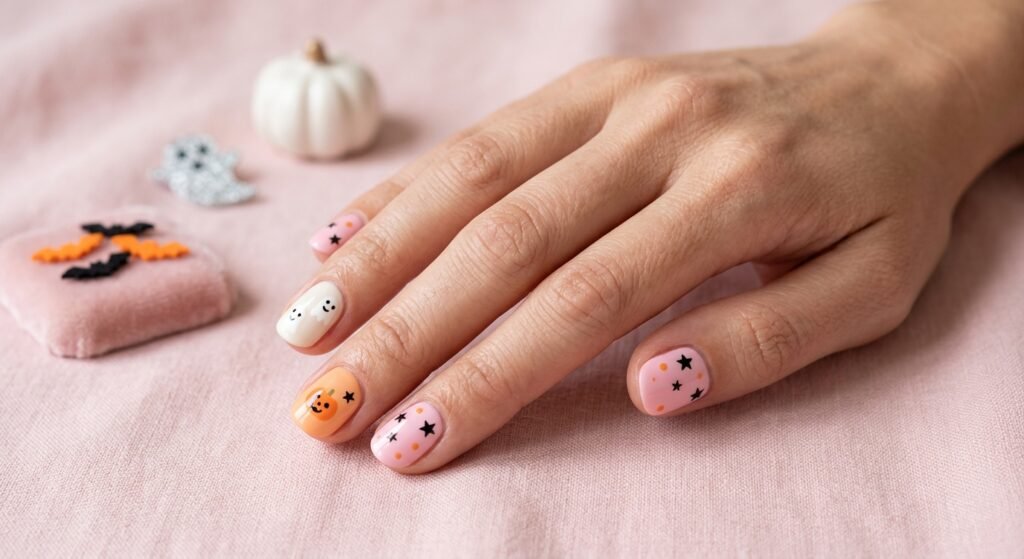
10. Pastel Halloween Mix-and-Match Nails
Colors: Lavender, pale peach, white, and black
Tools: Dotting tool and optional fine brush
Difficulty: Beginner with a little practice
Alternate lavender and pale peach across your nails. Add a tiny ghost to one nail and three black dots to another, leaving the rest plain.
Repeating the same colors keeps the manicure coordinated even when the details differ. Limit yourself to two motifs so the design stays manageable.
This playful option suits anyone looking for cute, easy Halloween nail ideas with a softer palette.
How to Make Your Design Look Neater
The easiest improvement is to use less polish on your detail brush. A heavily loaded brush makes small eyes, lines, and stems harder to control.
Practise a motif on a spare nail tip before painting it on your hand. Rest your working hand on a stable surface, and rotate your finger when needed instead of forcing an awkward brush angle.
Let painted details dry before applying top coat, and avoid repeatedly brushing over them. Drying time varies by product and coat thickness, so follow the polish instructions.
If a design feels too complicated, simplify it. A pumpkin can be an orange circle with a stem. A ghost can be a white oval with two eyes. One clear detail often works better than several crowded elements.
For short nails, choose small dots, narrow tips, or a single centered motif. Leave some background visible so the artwork is easier to recognize.
Frequently Asked Questions
What are the easiest Halloween nails for beginners?
Orange-and-black dots, spooky eyes, and a plain manicure with one sticker accent are straightforward starting points. They use few colors and avoid detailed linework.
Can I create Halloween nail art with regular polish?
Yes. Regular nail polish works for all the painted designs in this guide. Allow the base and decorative layers to dry before adding the next step.
Which Halloween designs work on short nails?
Tiny ghosts, pumpkin accents, small dots, and thin black French tips suit short nails. Keep the motif simple and leave space around it so it remains visible.
How can I make Halloween nails without nail-art brushes?
Use the polish bottle’s brush for solid colors and broad tips. A dotting tool can create dots and eyes, while suitable nail stickers provide another way to add decorative details.
How do I keep Halloween nail art subtle?
Choose a nude, cream, or burgundy base and decorate only one nail per hand. Small ghosts, narrow black tips, or a tiny pumpkin add a seasonal touch without covering every nail.
Pick one design you feel comfortable trying, gather its colors, and start with an accent nail. You can always add more detail once you like the result.nd decorate only one nail per hand. Small ghosts, narrow black tips, or a tiny pumpkin add a seasonal touch without covering every nail.
Pick one design you feel comfortable trying, gather its colors, and start with an accent nail. You can always add more detail once you like the result.